In this article, I have tried to give the steps to create the sample Event Registration form. It does not require any code. Without any coding knowledge this can be done.
Pre-requisites: You need to have Office 365
subscription and there is no license needed for Forms, it’s free.
When you login to the Office 365, you have this icon in the left top corner of the page. It’s
called waffle icon. On clicking it you can see all the app that you have
permission. In that you will find the Forms (highlighted in the below
image).
icon in the left top corner of the page. It’s
called waffle icon. On clicking it you can see all the app that you have
permission. In that you will find the Forms (highlighted in the below
image).

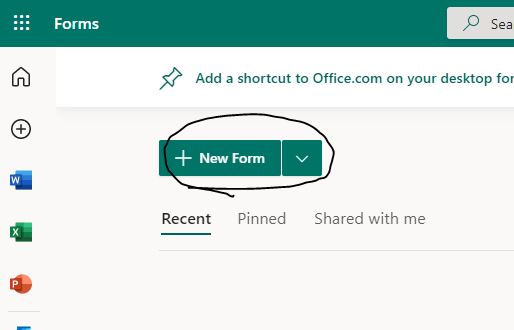
Once click the New Form button you will see the blank form
with options to create questions and header for the form as shown below.

You need to create as much question as you want to know about
the person who wants to enroll themselves for the Event. In this example, I have
just created 4 questions like Full name, Email address, Organization and Job
Title.
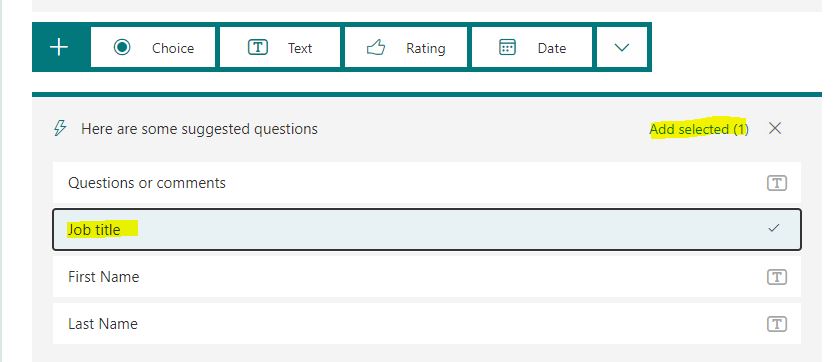
It’s easy to add questions, just you need to click the “+Add
Row” button as shown in the below picture.

There are some suggestions shown while you are trying to
create questions. That’s cool isn’t. You can select from the suggestions list
and click “Add selected”. It will be added to your form.
Once you are done with the questions, you need to share it.
Before that if you would like to change some setting like who are allowed to
enroll for this event, For example: people within the organization or
outsiders can also enroll for it. In the right top corner of the page you have Preview,
Theme and Share Options also. On clicking the “…” you will the
menu that contains Settings.

Preview Mode: You can see how the Form looks in
Mobile and Desktop view.

Settings: When you go to settings, there are options
given for “Who can fill out this form”, there you can select the options
according to your need. Anyone can
respond can selected if you are expecting the responses from outsiders also
(not part of your organization, they don’t need to login). Anyone from your
organization can enroll (respond) if you select “Only people in my
organization can respond”. You can also set “only specific people
within your organization” can enroll (respond) for it.
Start and End date: You can also set duration from
when we can start getting the enrollment (responses) till which date (last date
to get the responses).

Theme: There are some list of themes available, you
can select anything from the available themes.

Share: After all these, now it’s time to share the
Event Registration for to targeted audience. Click on the “Share” button. You
have different options like sharing it as short url, QR code, Embedded HTML
tag, Email.

Responses: Finally now you wish to see how of them
enrolled for the event. Check the below options you have for responses. You can
also view the results one by one and export the results in Excel on clicking
the “Open in Excel” link.

How does the Event Registration form look like?
Here it is.

Now you learnt how to create enrollment form, same steps has
to be followed if you wish to create Polling, Survey or Feedback.


No comments:
Post a Comment